Keyframes are an essential new skill when editing, and thankfully learning to use them isn't as well difficult. The basics in this tutorial volition human action every bit a building block as you learn on your way to becoming a great editor. Let'southward dive in!
Keyframes are Control Points
In the simplest form, a keyframe consists of two points on your timeline: one at the commencement position, and the other the terminate position. Between those points there will be some sort of motion, transition, or effect that you've practical to either the video or audio.
A good way to think about keyframes is to picture them as volume ends, where something you lot've decided to happen does and then between those points. I'll refer to them as point "A" and "B" to keep things simple. The keyframe icon looks like a trivial diamond; see elevation correct in the image below.
Screen Shot of using a keyframe to create a linear fade to an audio rails.
How to Use a Keyframe to Fade Audio In and Out
Using keyframes, you are able to seamlessly adjust the volume at any bespeak. This is a very helpful tool that allows you to give space for voice-overs and and then that the multiple audio tracks yous use tin can work together instead of competing for infinite.
Here's how to add a fade to either the start or end
How to Fade Audio
Here's how to fade audio:
With the source audio on your timeline, select your audio by unmarried-clicking. This will pop up the audio window shown in the screen shot to a higher place.
Place your play head where your sound starts.
Click the keyframe icon to tell the program yous are making an adjustment. This volition be indicate "A".
Arrange the audio level to your to nothing. The adjustment bar volition be right abreast the keyframe icon.
Movement the play head to where you lot'd like your fade-in to end.
Click the keyframe icon to tell the programme to create point "B".
Adjust your audio to your desired level.
Mind dorsum to see if yous are happy with your adjustments.
As you can you see, it's very like shooting fish in a barrel to exercise and with a fiddling more work you lot tin continue editing your audio levels throughout your videos using the same technique. It'due south a small-scale step that tin can be used to make any video tighter and more professional feeling.
How to Use Keyframes to Scale Images
Using keyframes to add a bit of move to your footage works best with locked off shots, which but means a stationary shot, and doing this is pretty much identical to adjusting the audio.
How to Create a Zoom With Keyframes
Information technology'southward possible to use keyframes to adjust the scale over time to mimic a dolly shot, giving us a smooth zoom. Below is a screen shot showing you exactly where to adjust the scale of your image.
Select your clip by single-clicking the item on your timeline.
Move your play head to the start of your clip or where you want the blitheness to begin.
Add a keyframe to create betoken"A": usingcalibration allunder the transform tool,select the keyframe icon. To create a zoom your first frame doesn't demand the calibration to be adjusted at all, just the finishing scale position.
Move the play head to where yous'd like to like the effect to stop.
Select the keyframe icon for point "B".
Conform the scale to your desired position.
Review your adjustments.
Yous've Successfully Keyframed Your First Clip!
Nice. Using keyframes tin become more complicated and time consuming when y'all are trying to create complex transitions and other wonderful effects. Accept your fourth dimension learning the basics and slowly increase the difficulty over time to make learning enjoyable and manageable.
Video Help From Envato
Some other nugget to assist your learning is projection templates. Templates tin can aggrandize your cognition of what is possible, while giving you the tools to execute amazing effects with tons of customization. Then even if you merely starting out, you can create highly professional work while yous learn. Envato Elements is a subscription services with hundreds of FCPX templates—and millions of other creative avails. Here are some for you to bank check out at present:
i. Bold Typo Opener FCPX
Command colours, shapes and utilize any font with Bold Typo Opener. This intro is text-forward with its 40 text placeholders and thirty spots for media. This is a perfect template for your YouTube channel besides as Instagram equally comes with a "Instagram resolution" pregnant; square, portrait, and IGTV! Comes with a help file and video tutorial.
2. Glitch Mod Opener
Glitch effects are pretty popular these days and this opener comes with tons of gear up to apply transitions that can to be tweaked to your gustatory modality. Utilise over 50 placeholders for all your media and text to create an heady intro for your channel all while having the freedom to modify the duration and edit all the parameters then that you can get exactly what yous desire out of your introduction.
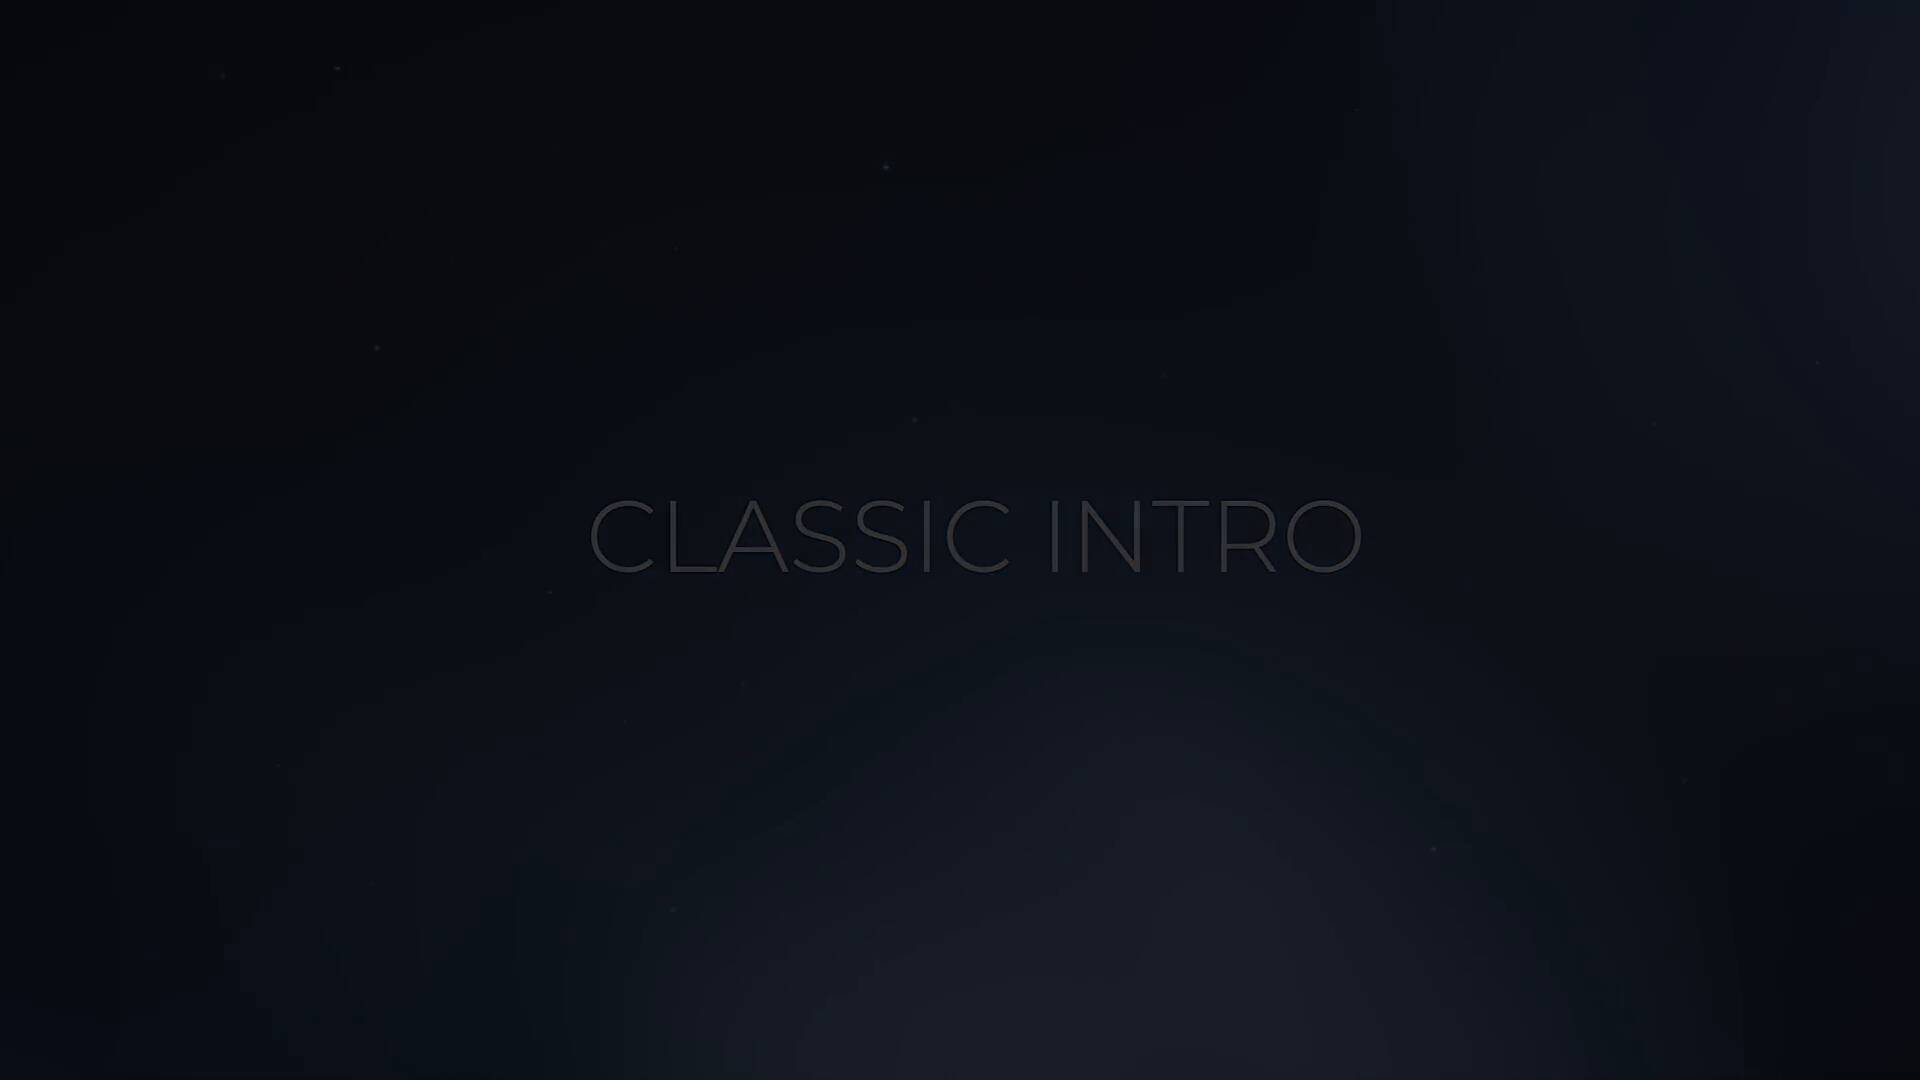
3. Archetype Intro
This is a great project for your YouTube opener that's looking for a classic affect. There are vii iamge/video placeholders and nine text holders that you can change to fit your style. Information technology comes with an easy to understand video tutorial also.
Check out these other articles and go on learning:
Did you find this post useful?
Ottawa, Canada
Andre Bluteau is a author and producer based out of Canada. He specialises in Adobe Artistic Deject, Final Cut Pro 10, and Logic.


0 Response to "How To Animate Pictures In Final Cut Pro X"
Post a Comment